Learn how to bake the perfect homemade apple pie from scratch. This easy recipe delivers a delicious, comforting classic every time.
The Enduring Appeal of Apple Pie
Few desserts evoke the warmth and nostalgia of a well-made slice of this traditional treat. Across the United States, this dessert symbolizes home, tradition, and celebration. For generations, its inviting aroma and balanced blend of sweet and tart have set the stage for family gatherings and holiday feasts. The comforting fragrance of cinnamon-spiced, tender fruit baking in the oven creates an atmosphere of familiarity and joy. Whether served as the centerpiece of a festive meal or enjoyed as an everyday indulgence, this dessert remains an enduring favorite steeped in American culture.
Beyond mere taste, its cultural significance runs deep—reminding us of simpler times, cherished family recipes, and the creative adaptations of home cooks over decades. The evolution of this dessert mirrors the changes in culinary trends while maintaining the heartwarming essence that makes it so beloved.
Selecting the Best Apples for Your Pie
The key to a mouthwatering filling lies in choosing the right fruit. The variety and quality of the apples not only affect texture but also impact the overall flavor. For a balanced filling that isn’t overly sweet or mushy, selecting a mix of apples is essential. Here are some options to consider:
- Granny Smith: Their tartness and firm structure help prevent the filling from becoming overly sweet while maintaining a pleasant bite.
- Honeycrisp: These provide a crisp texture and natural sweetness that brighten up the overall flavor profile.
- Fuji: Known for their juiciness and mild sweetness, they contribute a smooth, balanced taste.
- Braeburn: With a spicy-sweet flavor and a firm texture, they complement the spices beautifully.
- Jonagold: This hybrid offers a perfect blend of tangy and sweet, enhancing both flavor and consistency.
- Golden Delicious: Mild in flavor and soft in texture, they work well when paired with firmer varieties.
Using a combination of these selections ensures complexity in the filling, providing a harmony of textures and flavors that evolve as the dessert bakes. Always choose fresh, firm fruit to guarantee the best results.
Crafting the Perfect Apple Pie Crust
A well-executed crust is the backbone of any exceptional dessert. The ideal crust is both flaky and tender, providing a buttery contrast to the luscious filling. To achieve this, the right ingredients and techniques are paramount.
Key Ingredients for the Crust:
- All-purpose flour: Establishes structure.
- Unsalted butter: Offers rich flavor and promotes flakiness.
- Shortening (optional): Contributes additional tenderness.
- Ice water: Ensures the dough stays cold, resulting in a lighter texture.
- Salt and a touch of sugar: Enhance overall flavor.
Making the Dough for an Apple Pie
- Combine Dry Ingredients: In a large bowl, whisk together 2 ½ cups of all-purpose flour, 1 teaspoon of salt, and 1 tablespoon of sugar.
- Cut in the Fat: Add 1 cup of cold, diced unsalted butter or shortening. Use a pastry blender or your fingertips to incorporate the fat until the mixture resembles coarse crumbs.
- Add Ice Water Gradually: Slowly mix in 6 tablespoons of ice water, one tablespoon at a time, until the dough just comes together. Be careful not to overmix.
- Chill the Dough: Form the dough into two disks, wrap in plastic wrap, and refrigerate for at least 30 minutes. This resting period relaxes the gluten and helps maintain a tender, flaky texture when baked.
When rolling out the dough, keep it cool and work quickly. Overhandling can result in a tougher crust, which detracts from the overall experience.

Preparing the Apple Pie Filling: A Symphony of Flavors
The filling is where all the magic happens—a carefully balanced mix of sweet, tart, and spiced notes that create a delectable center. This step requires attention to detail to ensure that every slice delivers consistent flavor and texture.
Essential Filling Ingredients:
- Apples: About 6 to 7 cups, peeled, cored, and thinly sliced.
- Sugars: A blend of granulated and brown sugar to balance the tartness.
- Spices: Ground cinnamon, nutmeg, and a hint of allspice for warmth.
- Acid: Lemon juice to prevent oxidation and add brightness.
- Thickener: Cornstarch or flour to ensure a set filling.
- Vanilla Extract: For an extra layer of depth.
Steps to Prepare the Filling:
- Prepare the Fruit: Peel, core, and slice the apples uniformly to ensure even cooking.
- Prevent Browning: Toss the apple slices with lemon juice, which not only stops discoloration but also adds a refreshing tang.
- Mix in Sugars and Spices: Combine granulated sugar, brown sugar, and the chosen spices in a large bowl. Add the thickener and gently stir until the apples are evenly coated.
- Rest the Mixture: Allow the filling to sit for 15 minutes. This resting time helps the flavors meld and releases some of the natural juices, enriching the overall taste.
This thoughtful blend of ingredients ensures that the filling remains luscious and slightly thick, avoiding a runny consistency once baked.
Assembling and Baking the Pie
The assembly stage is crucial—this is when the carefully prepared components come together to form a beautifully layered dessert.
Layering Perfection:
- Roll Out the Bottom Crust: On a lightly floured surface, roll one disk of dough into a 12-inch circle. Gently lay it into a 9-inch pie dish, smoothing it into the corners and trimming any excess.
- Add the Filling: Spoon the apple mixture evenly into the crust. Spread it out so that every bite gets a balanced amount of fruit and spice.
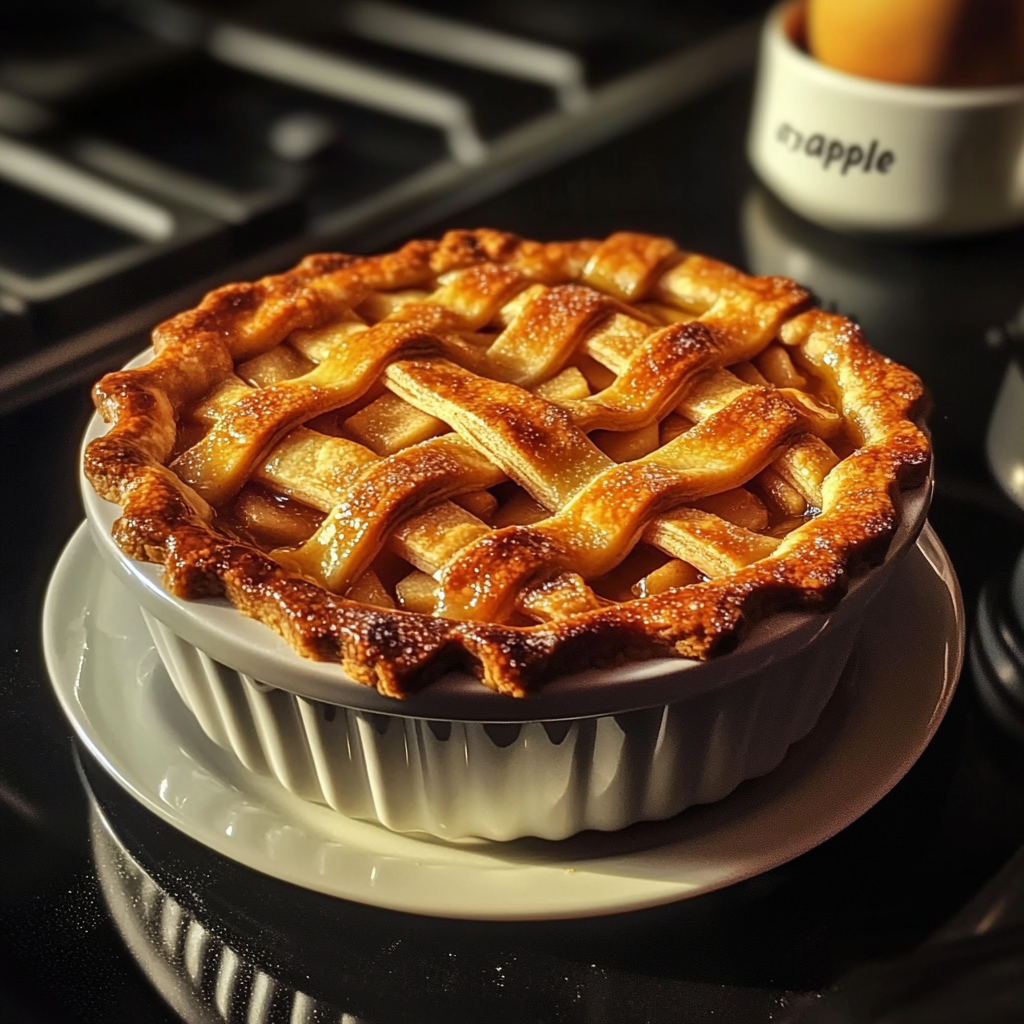
- Top Crust Application: Roll out the second disk of dough and either cover the filling entirely or create a decorative lattice. If using a solid top, cut several slits to allow steam to escape.
- Seal the Edges: Crimp the edges of the top and bottom crusts together firmly. For extra visual appeal, use your fingers or a fork to create a decorative border.
- Apply an Egg Wash: Brush the top of the crust lightly with an egg wash (a beaten egg mixed with a little water) to promote even browning during baking.
Baking Your Masterpiece:
- Preheat the Oven: Set your oven to 375°F (190°C) to ensure even baking.
- Baking Time: Place the pie on a baking sheet (to catch any drips) and bake for 45-50 minutes. The goal is a golden, crispy crust paired with a bubbly, fragrant filling.
- Monitor the Browning: If you notice the edges browning too quickly, cover them with aluminum foil midway through the baking process.
- Cooling Time: Remove the pie from the oven and allow it to cool completely on a wire rack. Cooling lets the filling set, making slicing easier and tidier.

Apple Pie Variations: Adding a Unique Twist
While the traditional recipe remains a favorite, creative variations can breathe new life into this classic dessert. Experimenting with flavors and textures is a fun way to personalize your creation.
Unique Flavor Enhancements:
- Caramel Apple Pie: Drizzle homemade or store-bought caramel sauce over the filling before adding the top crust. The caramel adds a rich, buttery sweetness.
- Spiced Nut Topping: Incorporate chopped pecans or walnuts mixed with a bit of cinnamon and brown sugar either as a topping or folded into the filling.
- Cheddar-Infused Crust: Stir shredded cheddar cheese into the dough for an unexpected sweet-savory twist that pairs wonderfully with the fruit.
- Bourbon Apple Pie: A splash of bourbon mixed into the filling intensifies the flavors, offering a grown-up version of the classic dessert.
- Berry Infusion: Add a handful of fresh blueberries or raspberries to the apple mixture for an extra burst of color and a subtle tang.
These variations not only enhance the flavor profile but also allow you to customize the dessert for different occasions and palates.
Serving Suggestions: Perfect Pairings
The enjoyment of this dessert is heightened when paired with complementary flavors and textures. Consider these ideas to round out your serving presentation:
- Classic Vanilla Ice Cream: The contrast between warm dessert and cold ice cream creates a delightful sensory experience.
- Light Whipped Cream: Freshly whipped cream, perhaps with a hint of vanilla, adds a light, airy counterbalance to the dense filling.
- Rich Caramel Drizzle: A generous drizzle of caramel sauce can intensify the sweetness and add a glossy finish.
- Sharp Cheddar Cheese: For the adventurous, a thin slice of sharp cheddar paired with a warm slice of pie offers a unique sweet-savory balance.
- Hot Beverages: Coffee, chai, or spiced apple cider serve as excellent complements, especially on chilly days.
- Seasonal Garnishes: A sprinkle of powdered sugar, a few mint leaves, or a dash of cinnamon can add a final touch of elegance.
These pairings can transform a simple slice into a gourmet experience, making every bite a celebration of flavors.
Storing and Reheating Apple Pie
Proper storage ensures that every slice remains as delightful as when freshly baked. Follow these guidelines to maintain its quality:
- Room Temperature: Cover the dessert loosely with plastic wrap and keep it at room temperature for up to two days.
- Refrigeration: For longer storage, place the pie in an airtight container in the refrigerator. This will preserve it for up to four days.
- Freezing: If you need to store it for an extended period, wrap the pie tightly in plastic and then foil before placing it in the freezer. It can be kept frozen for up to three months.
Reheating for Best Results:
- Oven Method: Preheat your oven to 350°F (175°C) and place the pie on a baking sheet. Warm it for 10-15 minutes to revive the crisp crust.
- Microwave Method: If using a microwave, heat individual slices for about 30-40 seconds. However, be cautious—the crust might soften slightly.
- Avoid Overheating: Overheating can dry out the filling and toughen the crust, so gentle warming is key.
Nutritional Insights and Health Benefits
While this dessert is traditionally considered indulgent, you can adjust the recipe to create a more nutritious version without compromising on flavor. Here are some ways to balance taste and health:
- Whole Grain Alternatives: Substitute part or all of the all-purpose flour with whole wheat or oat flour. These options add fiber and nutrients.
- Reducing Sugar: You can reduce the amount of added sugar by relying on the natural sweetness of the apples. A small amount of maple syrup or honey can also be used.
- Healthy Fats: Use a blend of butter with healthier fats such as olive oil or avocado oil in the dough.
- Incorporate Nuts and Seeds: Adding a moderate amount of walnuts or pecans not only provides crunch but also healthy omega-3 fatty acids.
- Spice Up for Flavor: Increasing spices like cinnamon and nutmeg can enhance the perceived sweetness without extra sugar.
These tweaks make it easier to enjoy a slice of this comforting dessert while still aligning with a balanced diet.
The History of Apple Pie in America
The story of this iconic dessert is woven into the fabric of American culinary history. Originating from early European settlers who brought pie-making traditions with them, this dessert evolved over centuries. It became a symbol of prosperity and home, especially during the harvest season when apples were abundant.
In the 18th and 19th centuries, it was common for families to share recipes passed down through generations. As the dessert gained popularity, regional variations emerged. In some areas, spices were added to suit local tastes, while in others, unique crust techniques were developed. Today, it stands as a testament to tradition—a dessert that has been refined by countless home cooks while remaining true to its humble origins.
Step-by-Step Visual Guide (Text-Based)
Imagine each step as a scene in a culinary journey:
- Gathering Ingredients: Picture a countertop laid out with fresh apples, a block of butter, flour in a glass bowl, and a collection of aromatic spices.
- Mixing the Dough: Visualize cutting cold butter into flour until the mixture resembles coarse crumbs—a tactile experience that sets the stage for a perfect crust.
- Preparing the Filling: See the transformation as apples are peeled, sliced, and tossed with sugar, spices, and lemon juice. The vibrant colors and fragrant aromas hint at the dessert to come.
- Rolling Out the Dough: Envision the dough being gently flattened on a floured surface, then carefully laid into a pie dish—a delicate process that requires care and precision.
- Layering and Assembling: Watch as the filling is evenly spread, and the top crust (or lattice) is artfully arranged, creating a mosaic of pastry and fruit.
- Baking Transformation: As the pie bakes, the crust turns golden, and the filling begins to bubble—a visual cue that the dessert is nearing perfection.
- Cooling and Serving: Finally, imagine the finished pie resting on a wire rack, the aroma filling the room, ready to be served with your favorite accompaniment.
This step-by-step visualization can help both novice and experienced bakers understand the process more clearly.
Common Mistakes and Troubleshooting Tips
Even experienced bakers can encounter challenges. Here are some common issues and practical solutions to keep your dessert flawless:
- Runny Filling:
- Problem: The filling might be too watery.
- Solution: Ensure you use the appropriate thickener (cornstarch or flour) and allow the filling to rest before baking. If needed, let the pie cool completely so the filling sets properly.
- Tough Crust:
- Problem: Overworking the dough or using warm ingredients can result in a dense, tough base.
- Solution: Keep ingredients cold and mix just until the dough comes together. Allow the dough to chill adequately before rolling.
- Overbrowning Edges:
- Problem: The outer edges may darken too quickly while the center remains undercooked.
- Solution: Cover the edges with foil once they reach a golden hue and adjust the oven rack to ensure even heat distribution.
- Uneven Slices:
- Problem: The pie might not cut evenly, making serving difficult.
- Solution: Let the dessert cool completely so the filling firms up, then use a sharp knife dipped in hot water for clean cuts.
By anticipating these issues and following these troubleshooting tips, you can ensure a consistently superb result every time.

Seasonal Variations and Creative Twists
This dessert shines in every season, and small tweaks can make it even more appropriate for the time of year:
- Autumn Enhancements:
- Add a splash of apple cider to the filling, and consider incorporating seasonal spices like clove or cardamom. A crumb topping with pecans and oats can evoke the feel of a rustic harvest meal.
- Winter Warmth:
- Infuse the filling with a hint of ginger or a touch of bourbon for a warming effect. Serve with spiced whipped cream and a dusting of powdered sugar.
- Spring Freshness:
- Introduce light notes by adding lemon zest and a sprinkle of fresh mint. Consider a lattice top made with a decorative twist to celebrate renewal.
- Summer Delight:
- Use extra firm apples that hold up well in the heat, and serve the dessert slightly chilled with a scoop of homemade ice cream. Fresh berries can be folded into the filling for a burst of color and tang.
Each seasonal variation can transform the dessert into an entirely new experience while keeping the core essence intact.
Chef’s Personal Tips and Tricks
From the perspective of a seasoned baker, here are some insider tips to help you perfect your creation:
- Pre-Measure Everything: Gather and measure all ingredients before starting. This “mise en place” approach ensures that nothing is rushed.
- Don’t Rush the Resting Period: Allowing the dough and filling to rest at the appropriate times makes a significant difference in texture and flavor.
- Experiment with Spices: While traditional spices work beautifully, don’t be afraid to experiment. A dash of smoked paprika or a hint of star anise can provide a unique twist.
- Invest in Good Tools: Quality rolling pins, pastry blenders, and pie dishes can elevate your baking experience. Even a well-calibrated oven makes a difference.
- Practice Patience: Perfecting a dessert is a journey. Each attempt is a learning experience. Take notes and tweak the recipe to suit your taste and conditions.
- Presentation Matters: A beautifully arranged lattice or a perfectly brushed egg wash can make your dessert look as good as it tastes. Small details in presentation add to the overall experience.
These tips reflect years of culinary experience and can help both beginners and veteran bakers achieve a dessert that is as pleasing to the eye as it is to the palate.
Final Thoughts: Why Homemade Apple Pie is Special
Making this classic dessert from scratch is more than just following a recipe—it’s about creating a memory. The process of selecting the freshest fruit, crafting a delicate crust by hand, and blending the perfect mix of spices is a labor of love. Each slice tells a story of tradition, creativity, and passion. Whether served warm with a scoop of vanilla ice cream or enjoyed as a comforting snack on a chilly day, every bite delivers a taste of home.
This comprehensive guide has taken you through every essential step and provided creative variations, nutritional insights, and practical tips. With a combination of historical context, detailed instructions, and troubleshooting advice, you’re well-equipped to create a dessert that not only delights the senses but also carries forward a cherished culinary legacy.
Frequently Asked Questions (FAQs)
What is the best thickener for the filling?
Cornstarch or flour works best to prevent a runny consistency.
How do I prevent the fruit from turning mushy?
Using a mix of apple varieties and proper thickening agents helps maintain texture.
Why is a cold dough important?
Keeping the ingredients cold prevents gluten development, ensuring a flaky crust.
How do I stop the edges from overbrowning?
Cover the edges with foil midway through baking to maintain even color. https://spicedrecipes.com/
